Rhino Shield Coating Process: Part 1
 If you are one of the many homeowners learning for the first time about Rhino Shield, here is a brief overview of the process that is involved when the product is applied.
- Thorough Inspection
Before applying Rhino Shield to your home, we inspect your home’s underlying condition to see if any additional steps need to be taken before we apply the product. - Cleaning and Washing
The entire surface is power-washed to kill any mold, mildew, or fungus that was pre-existing. TSP and bleach is commonly used for this process. - Patch & Repair
Your home is brought to its original condition by sealing all cracks, holes, chips, and breaks. - Caulking
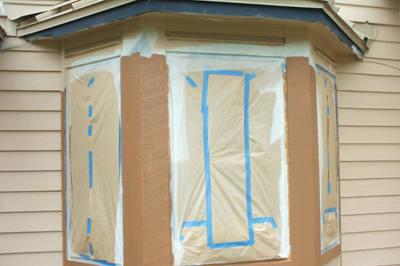
In order to prevent moisture from disrupting the coating, we caulk around all doors and windows.
Check back with the blog for part 2 of the Rhino Shield Process.
This in-depth process is used to ensure your future happiness with the product. Give the exterior of your home the attention it deserves. Your neighbors and friends will notice the difference.

[…] Last week we began a two-part series that discussed the Rhino Shield application process. There are still some important points to cover that are the reason why Rhino Shield is the leader in ceramic coating. Here is the continuation from Rhino Shield Coating Process: Part 1 […]
Rhino Shield Coating Process: Part 2 — blog.rhinoshield.net
May 20, 2011 at 4:51 pm
[…] Shield is able to adhere to most any substrate because of the detailed application process and high-quality primer. Our adhesive primer sealer is able to penetrate up to six layers of paint. […]
Get the Ultimate Paint Job, No Matter the Exterior — blog.rhinoshield.net
June 2, 2011 at 9:15 am